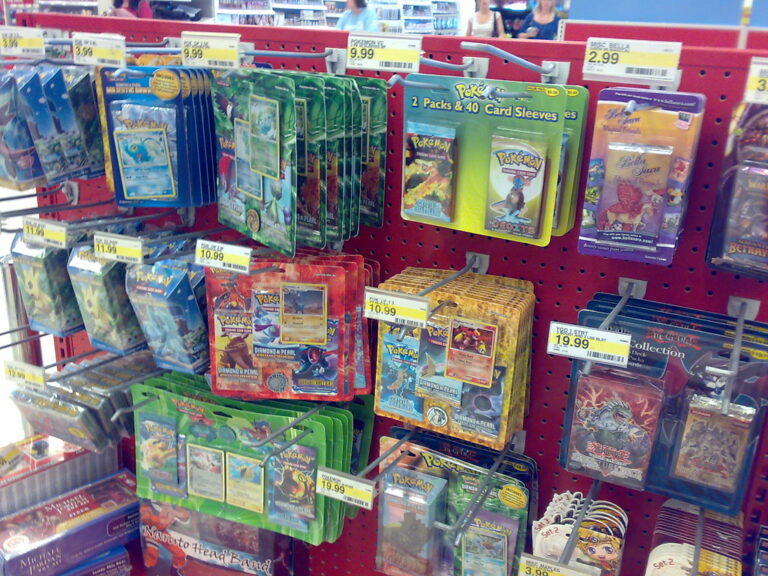
A holographic rare card and a reverse holographic card are distinguished by the location of the holo pattern on the card surface. In a holo rare, the holographic foil covers the background behind the artwork and extends across most of the card, creating that distinctive shiny effect across the entire card face. In a reverse holo, the pattern is reversed—the artwork area remains non-holographic while the borders, attack descriptions, and card borders are covered in the holo pattern instead. For a concrete example, take the Base Set Blastoise holo rare versus a reverse holo Blastoise from the same era. With the holo rare, you’ll see the sparkle and light-catching effect across the blue background and around the turtle illustration.
With the reverse holo, the Blastoise illustration itself sits matte while the yellow attack boxes and white border areas gleam with holographic shine. In older Pokemon sets from 1999 through the early 2000s—particularly Base Set, Jungle, Fossil, and Team Rocket—these two finishes represent fundamentally different production runs. The distinction becomes clearer when you hold both versions side by side under light. Holo rares were the premium chase cards of the set, while reverse holos were introduced later as a way to add rarity to cards that would normally be commons or uncommons. The difference isn’t subtle once you know what you’re looking for, but collectors new to older sets often confuse the two, especially when a card is worn or photographed from certain angles.
Table of Contents
- What Are the Specific Visual Differences Between Holo and Reverse Holo Patterns?
- Why Do the Patterns Look So Different in Older Sets?
- Identifying Holo Rares Through Rarity Symbols and Set Markers
- How to Compare the Two Under Different Lighting Conditions
- Common Mistakes New Collectors Make When Identifying These Finishes
- Grading and Authentication Considerations
- The Evolution of Holo Finishes and Future Collecting Implications
- Conclusion
What Are the Specific Visual Differences Between Holo and Reverse Holo Patterns?
The core visual difference comes down to coverage and positioning of the holographic foil layer. On a traditional holo rare, the foil covers the background behind the Pokemon illustration and extends into the card border area, creating a continuous shiny surface across most of the card face. You’ll see the holographic effect most prominently in the negative space—the areas without print—which makes the card’s background seem to sparkle and shift in light. The Pokemon artwork itself sits on top of this holographic layer, so the illustration catches light through the transparent printing above.
A reverse holo applies the holographic foil to the opposite areas—primarily the text boxes, borders, and non-artwork regions. The Pokemon illustration in the center sits flat and matte, while the yellow attack boxes, HP box, and white borders all gleam with holographic shine. This creates a visual inversion of where the shine appears. Some reverse holos from older sets also have holo effects on small accent areas like the Poke Ball symbol in the bottom corner or the border frames, but the main artwork always remains non-holographic. To test this distinction, tilt the card under a light source—on a holo rare, you’ll see the entire card surface respond to light movement, while on a reverse holo, the shift in shine is isolated to the borders and text areas.

Why Do the Patterns Look So Different in Older Sets?
The difference in appearance stems from how Pokemon cards were manufactured during different production eras. In the earliest sets, holographic technology was applied to the card sheet before cutting, and the holo pattern extended across the entire card background uniformly. This full-coverage approach made holo rares instantly recognizable and was a major selling point—collectors wanted that shiny, premium feel across the whole card. The reverse holo innovation came later, introduced around the Gym Heroes era and became standard practice, as it allowed Wizards of the Coast to create multiple rare versions of the same card illustration without producing entirely separate artwork.
A significant limitation to remember is that the quality and visibility of the holo effect varies dramatically depending on the age and storage condition of the card. An older holo rare that’s been stored in poor conditions—exposed to heat, light, or humidity—may have dulled holographic foil or even patchy areas where the foil has worn away. This can make a holo rare look less shiny than you’d expect, potentially creating confusion with a reverse holo or a non-holographic version. Similarly, a well-preserved reverse holo from the same era might appear more vibrant than a damaged holo rare, so condition plays an enormous role in how obviously the distinction appears.
Identifying Holo Rares Through Rarity Symbols and Set Markers
Every Pokemon card from older sets includes a rarity symbol in the bottom right corner, which serves as an objective way to confirm what you’re looking at beyond the visual holo pattern. Holo rares from Base Set, Jungle, and Fossil feature a star symbol in the rarity line, while reverse holos typically show the same rarity symbol with different numbering or are marked as commons or uncommons. This symbol system is your failsafe—if you’re unsure whether you’re looking at a holo rare or reverse holo, check the rarity indicator first. A Base Set Charizard with a star symbol is a holo rare, period, regardless of how the holographic finish appears.
The set marker and card number also tell you what version you own. An original holo Charizard from Base Set will have the set symbol (an acorn for Jungle, a fossil for Fossil) and a specific number like “4/102.” Reverse holos, by contrast, were often released in newer sets or special collections, and they’ll frequently have different numbering systems. For example, reverse holos from later releases might be numbered outside the standard set range or labeled with “R” or “Reverse Holo” designations directly. This numbering system is more reliable than eyeballing the holographic pattern, especially for newer collectors or when examining cards in poor condition where the visual distinction becomes murky.

How to Compare the Two Under Different Lighting Conditions
The most practical way to distinguish a holo rare from a reverse holo is to examine the card under multiple light sources. Natural daylight is ideal—take both cards outside or near a window and tilt them at a 45-degree angle while looking at them. With a holo rare, you’ll see the holographic sparkle dance across the entire card as you move it, with the effect concentrated in the background and borders. The Pokemon artwork will also shimmer slightly as the light catches the printed surface above the holo layer. With a reverse holo, the same tilting motion will make the borders and text boxes gleam, while the artwork in the center remains comparatively flat and matte.
Indoor lighting can be deceptive, so avoid relying on artificial light alone for this comparison. Fluorescent overhead lights create harsh reflections that can make both cards look shiny, obscuring the real difference in holographic coverage. A phone flashlight is better than overhead lighting, as it gives you more control over the angle and direction of light hitting the card. The key comparison point is consistency—on a holo rare, the shine should be relatively uniform across the card (accounting for wear), while on a reverse holo, the shine is noticeably concentrated in the borders and text elements. This spatial difference in shine distribution is more reliable than trying to assess absolute brightness or “shininess,” which varies based on wear.
Common Mistakes New Collectors Make When Identifying These Finishes
A frequent error among newer collectors is assuming that any shiny Pokemon card is a holo rare and any matte card is a non-holographic version. In reality, many cards that appear mostly matte are actually reverse holos with matte artwork. This mistake costs collectors real money—they might undervalue a reverse holo because the artwork doesn’t gleam, or overpay for a damaged holo rare thinking they have something rare. The only antidote is to look at multiple reference images of confirmed versions of the same card and spend time comparing them physically under controlled lighting. Even then, worn cards can fool you, which is why the rarity symbol on the card itself should always be your primary verification method.
Another common pitfall is conflating holo rares with first editions or shadowless prints, which are different rarity classifications entirely. A Base Set first edition holo Charizard might be worth exponentially more than an unlimited edition holo Charizard, but this value difference has nothing to do with whether the card is a holo or reverse holo—it’s about the print run classification. Some collectors waste time trying to determine holo status when they should be verifying whether they have a first edition, unlimited, or shadowless version instead. Check the edition marker (usually printed in the bottom left corner) before getting too deep into analyzing the holographic finish. Missing the edition classification is far costlier than misidentifying a reverse holo as a holo rare.
Grading and Authentication Considerations
When cards are sent for professional grading through companies like PSA or BGS, the holographic finish is documented in the card’s details, so a certified grading label will tell you definitively whether you own a holo or reverse holo. This matters because the difference can significantly affect value—a PSA 8 holo rare Base Set Charizard is worth considerably more than a PSA 8 reverse holo from a later release. However, authentication is only meaningful for cards that warrant the grading cost, typically those worth $50 or more.
For bulk collection management, learning to identify the finish yourself is more practical. If you’re planning to sell or trade valuable cards, it’s worth getting high-quality photographs that clearly show the holographic pattern under even lighting. A photo showing a holo rare’s full-card sparkle or a reverse holo’s concentrated border shine will accelerate sales and prevent disputes. Many photos of older cards hide the distinction because the camera angle or flash creates misleading reflections.
The Evolution of Holo Finishes and Future Collecting Implications
Pokemon’s printing techniques have evolved significantly since older sets, and modern cards use different holographic technologies and patterns than cards from the Base Set era. If you’re collecting older sets, understanding the original holo and reverse holo distinctions is essential because you’ll encounter both versions regularly and they represent different eras of production. Newer sets have introduced texturing, pattern variations, and full-art holo designs that work differently, but the fundamental distinction between holographic background coverage and matte artwork remains consistent in older cards.
As vintage Pokemon card values continue to be driven by condition and rarity, the ability to correctly identify what version of a card you own becomes more valuable. Misidentifying a reverse holo as a common or vice versa can cost you hundreds of dollars in a collection. The good news is that once you’ve compared a few genuine holo rares with authentic reverse holos side by side, the visual distinction becomes intuitive and you’ll develop the eye for spotting the difference instantly.
Conclusion
The primary way to distinguish a holo rare from a reverse holo in older sets is to look at where the holographic foil appears on the card. Holo rares have foil covering the background and most of the card surface, while reverse holos have foil only on the borders and text elements, leaving the artwork matte. The most foolproof method is checking the rarity symbol in the bottom right corner—star symbols indicate holo rares, while commons and uncommons are reverse holos.
When in doubt, examine the card under natural light and tilt it to see where the shine concentrates and moves, then cross-reference with the rarity marker. Building a reliable eye for these distinctions takes time and practice, but it’s an essential skill for anyone seriously collecting older Pokemon cards. Start by comparing multiple versions of the same card under consistent lighting, use the rarity symbol as your verification checkpoint, and remember that condition affects how obviously the holographic pattern displays. Once you understand these visual and technical markers, you’ll be able to accurately sort your collection, make informed purchases, and avoid costly misidentifications that beginner collectors frequently make.