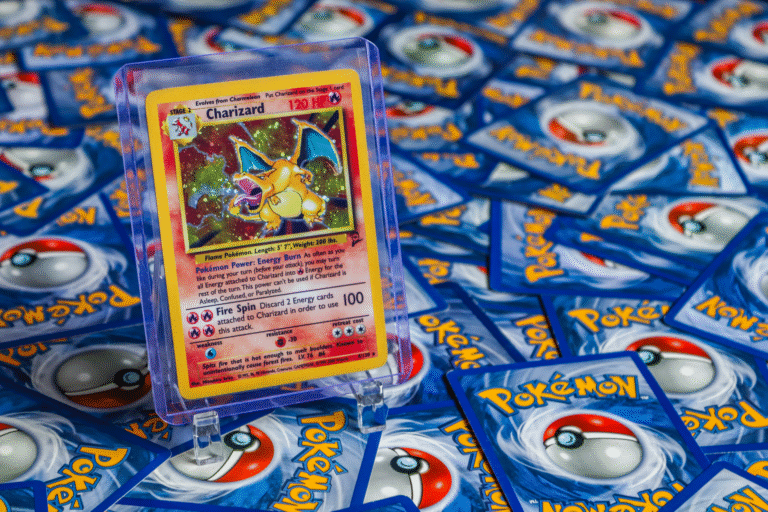
Cracking a CGC slab without damaging the card inside requires patience, the right tools, and a methodical approach that prioritizes the card’s condition above all else. The most reliable method involves carefully heating the slab to soften the adhesive, then using thin plastic tools to gently pry apart the acrylic layers while supporting the card from underneath. For example, collectors have successfully opened Crystal Eevee slabs using a heat gun set to low temperature (around 150-180°F) combined with dental picks and plastic spoon handles to separate the casing without applying direct pressure to the card itself.
The key to success lies in understanding that CGC slabs are sealed with industrial-grade adhesive, and the acrylic can crack if forced. Many collectors make the mistake of attempting to pop the slab open cold, which often results in chipped edges or, worse, damage to the card. The process takes 30-45 minutes when done properly, but this investment in time is essential for preserving the card’s value and condition.
Table of Contents
- Understanding CGC Slab Construction and Adhesive Properties
- Tools Required and Proper Setup for Safe Extraction
- The Heating Phase and Monitoring Progress
- The Separation Process and Maintaining Card Safety
- Common Failure Points and Risk Mitigation
- Post-Opening Card Care and Assessment
- Resealing Options and Permanent Alternatives
- Conclusion
Understanding CGC Slab Construction and Adhesive Properties
CGC slabs consist of two pieces of acrylic held together with a strong polyurethane or epoxy-based adhesive around the perimeter. The card sits inside a cavity, typically with minimal clearance, meaning any warping or shifting of the plastic during extraction can transfer pressure directly onto the card. The adhesive CGC uses is specifically engineered to create a permanent seal, which is why temperature plays such a critical role in the cracking process.
Heating softens this adhesive without affecting the card itself, which is made of paper and cardstock and can withstand heat better than acrylic. When the slab reaches 160-180°F, the adhesive becomes flexible enough to separate with gentle leverage. The difference between success and failure often comes down to using gradual, consistent heat rather than rapid heating, which can cause the acrylic to expand unevenly and crack.

Tools Required and Proper Setup for Safe Extraction
you‘ll need a heat gun, silicone mat or heat-proof surface, plastic tools (dental picks, plastic spoons, old credit cards), and ideally a small clamp or vice to hold the slab steady. Never use metal tools directly against the acrylic, as they can scratch the surface or create pressure points that lead to cracking. A heat gun with variable temperature settings is essential—many collectors use paint removal heat guns available at hardware stores, which allow precise control below 200°F.
The limitation here is that not all heat guns provide accurate temperature readings, which can lead to overheating the slab. Some collectors have reported that temperatures above 190°F can cause the acrylic itself to become brittle or discolor. Setting up your workspace properly also means having good lighting and a magnifying glass to monitor the adhesive separation as you work, since the changes are subtle and easy to miss in poor light.
The Heating Phase and Monitoring Progress
Begin by placing the slab flat on a heat-proof surface and applying heat evenly across the edges where the adhesive is located. Use slow, sweeping motions rather than pointing the heat gun directly at one spot, which can create hot zones and cold zones. After 5-10 minutes of initial heating, you’ll begin to see the adhesive soften—it may appear slightly darker or less opaque around the seams. This visual cue tells you the heating phase is working correctly.
A practical example: if you’re opening a Crystal Eevee slab, apply heat to the front edge first, then the back, then the sides, spending about 3-4 minutes on each section. Between 10-15 minutes total, test the slab gently by trying to insert a plastic tool along one corner edge. If you feel significant resistance, continue heating. If the tool slides in with light pressure, you’ve likely reached the right temperature. Never force the tool—if it won’t slide, heat more.

The Separation Process and Maintaining Card Safety
Once the adhesive is soft, begin working a flat plastic tool (a plastic spoon handle works exceptionally well) around the entire perimeter, creating a gap between the front and back acrylic pieces. The technique is similar to opening a sealed container with a butter knife, but more deliberate and slower. Work methodically around all four edges before attempting to fully pry the slab open, which distributes the force more evenly.
The key comparison here is the difference between peeling and sliding. Pulling directly outward on the slab (peeling) concentrates force on the adhesive points and risks cracking the acrylic. Sliding a flat tool horizontally along the edge while gently wiggling it back and forth distributes force over a larger area. Many collectors find that working in a circular pattern around the slab three or four times, advancing the separation slightly each time, yields better results than trying to fully separate one edge and then moving to the next.
Common Failure Points and Risk Mitigation
The most frequent damage occurs at the corners, where the acrylic is thinnest and where collectors often unconsciously apply more pressure. Crystal Eevee slabs, which are highly sought after, are particularly susceptible to edge chipping because collectors rushing to see the card inside often push too hard at the corners. If you feel the slab beginning to crack rather than separate, stop immediately, reheat that section, and try again with less pressure.
Another common issue is card damage during the final opening, when the card suddenly becomes visible and collectors are tempted to pull it out forcefully. The card may still be partially adhered to one side of the acrylic, and pulling too hard can crease or tear it. A critical warning: once the slab is mostly open, use a plastic tool to gently separate the card from any remaining adhesive points rather than grabbing the card directly. The card should slide out smoothly with minimal effort if the slab is fully separated.

Post-Opening Card Care and Assessment
After successfully removing the card from the slab, allow it to cool completely before handling. The card may be slightly warm from the extraction process, and handling warm cards risks fingerprints or slight warping. Place it on a clean, dry surface for at least 30 minutes before inspecting it or placing it in a new sleeve or holder.
Once cooled, examine the card carefully with a magnifying glass for any adhesive residue, creases, or marks that may have occurred during extraction. Many collectors find that residual adhesive on the card’s edges can be gently removed with a soft, dry microfiber cloth, working very carefully to avoid damaging the card stock. This is a good moment to assess whether the card’s condition justifies its current grade or if the extraction process revealed any issues that might affect its value.
Resealing Options and Permanent Alternatives
After opening and inspecting the card, you have several options: reslabbing it with a grading company like CGC, PSA, or Beckett; placing it in a new protective sleeve and storage box; or creating a custom acrylic case. Many collectors choose not to reseal because the grading company will likely charge fees and the card has already been removed from its original slab. A custom-built clear acrylic case offers similar visual appeal without the risk of repeated cracking attempts.
Looking forward, some collectors are experimenting with non-destructive viewing options, such as carefully photographing cards within their slabs using macro lenses rather than opening them. For highly valuable specimens like high-grade Crystal Eevees, this approach preserves both the slab and the card’s sealed condition, which some buyers may prefer over an opened card. The decision ultimately depends on your intended use for the card—whether it’s for personal collecting enjoyment, photography, or eventual resale.
Conclusion
Cracking a CGC Crystal Eevee slab without damage is possible but requires commitment to proper technique, the right tools, and patience. The combination of careful heating, plastic tools, methodical separation, and gentle handling throughout the process significantly reduces the risk of damage to the card or slab. Success depends on resisting the temptation to rush and on understanding that the 30-45 minutes invested in a careful extraction is time well spent.
Before attempting this process, honestly assess whether opening the slab is necessary for your goals. If the card’s value to you is primarily based on its grade and condition, keeping it slabbed may be the better choice. However, if you’re opening it to verify condition, restore it, or enjoy it in a new way, follow these methods carefully and prioritize the card’s safety above all else.